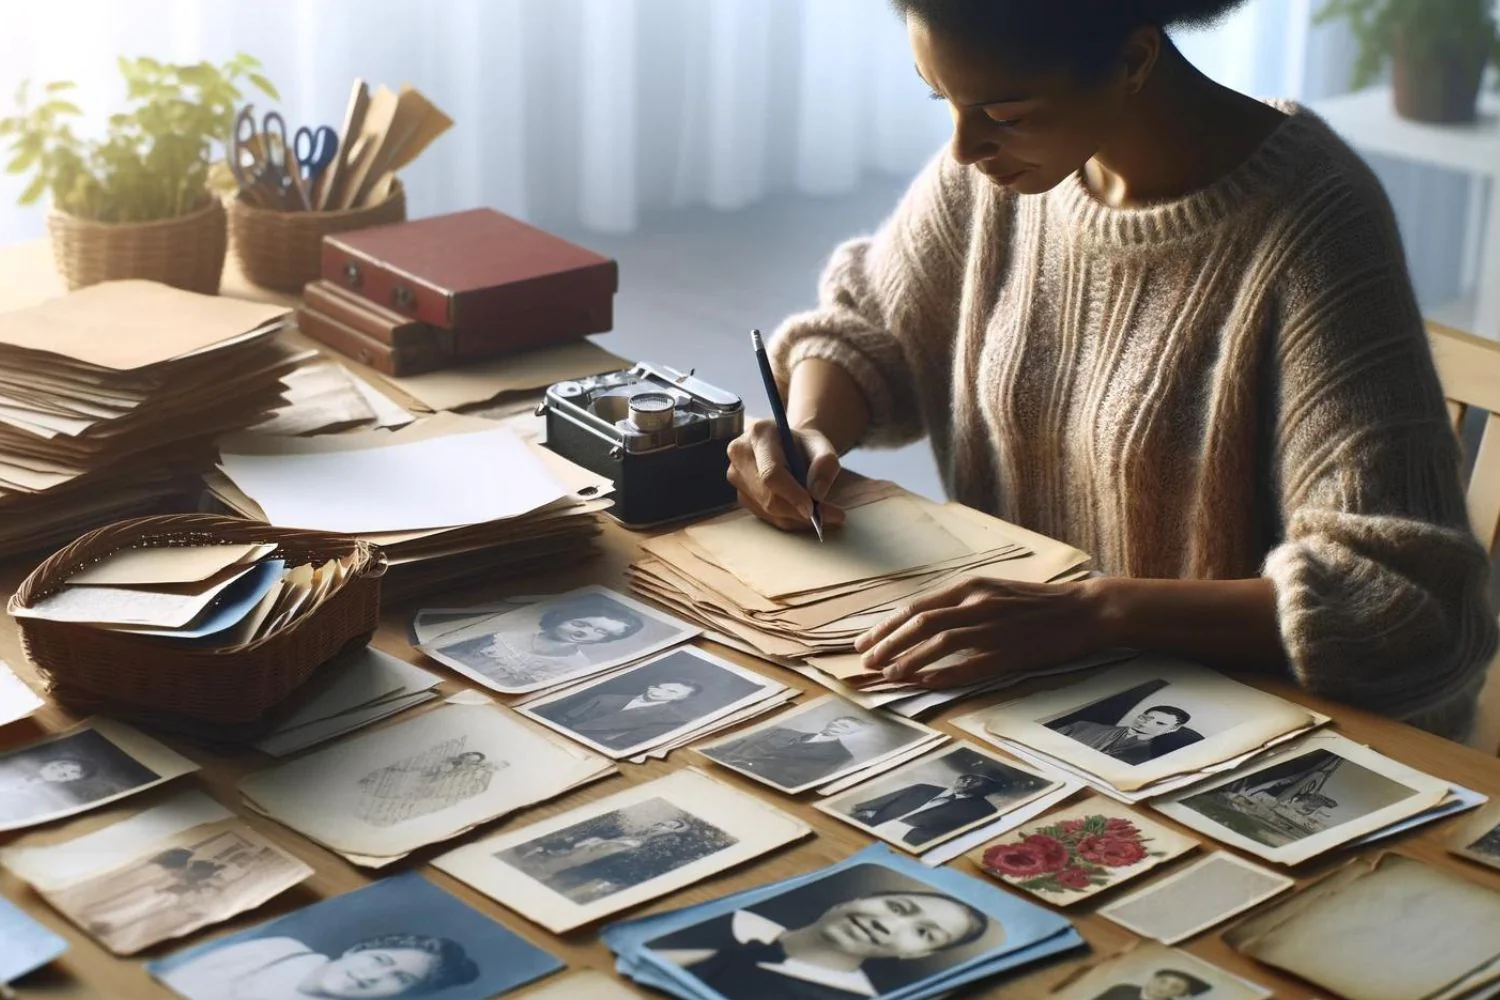
Creating a memorial video is one of the most meaningful ways to honor a loved one. It brings together the moments, faces, and memories that tell their story and when your photos and videos are organized before you send them, the entire process becomes smoother, faster, and far less stressful during an already emotional time.
At Texas Hill Country Tales, I work with families across the Texas Hill Country and throughout the United States to create heartfelt memorial and celebration videos. To help you prepare your materials, here are some simple, gentle steps to get everything ready before placing your files into a ZIP folder for upload.
1. Gather Everything in One Place First
Before sorting, create a single folder on your computer called something like “Memorial Video – [Name]”. Move all the photos and videos you want included into this folder. This keeps things from getting lost across devices, emails, or old backups.
Tip: If you’re collecting files from multiple family members, ask them to send everything to you first so you can combine it into one master folder.
2. Decide on a Rough Order (Optional but Helpful)
You don’t have to arrange everything perfectly — I can randomize or organize the slideshow for you — but if you have a preferred order, here are easy ways to do it:
- Chronological: Baby → childhood → adulthood → family → recent years
- Themed: Family → friends → hobbies → holidays → special moments
- Grouped: All photos of one event or person together
If you want me to handle the ordering, just leave everything unsorted and I’ll take care of it.
3. Rename Files for Clarity (If You Want a Specific Order)
If you want your photos to appear in a certain sequence, rename them with numbers at the beginning:
- 001.jpg
- 002.jpg
- 003.jpg
This ensures they stay in the exact order you prefer when I build the video.
If you don’t care about the order, you can skip this step entirely.
4. Remove Duplicates and Blurry Images
You don’t need to send every version of the same photo. Choose the clearest one and delete duplicates to keep your upload clean and easy to navigate.
If a photo is meaningful but slightly blurry, keep it; I can often enhance it digitally.
5. Separate Photos and Videos Into Two Folders
Inside your main folder, create two subfolders:
- Photos
- Videos
This helps me process everything faster and ensures nothing gets overlooked.
6. Check Your File Formats
Most common formats work perfectly:
- Photos: JPG, PNG, HEIC
- Videos: MP4, MOV, AVI
If you have older or unusual formats, send them anyway; I can usually convert them.
7. Add a Note If You Have Special Requests
Inside your main folder, you can include a simple text file called “Notes.txt” with any details you want me to know, such as:
- Preferred music
- Names to display
- Important dates
- “Please include this photo near the end”
- “Use a slower pace for these images”
This helps me personalize your video exactly the way you envision it.
8. Create a ZIP File for Easy Upload
Once everything is organized:
- Right‑click your main folder
- Select “Compress” or “Send to ZIP”
- Your computer will create a single ZIP file ready to upload
This keeps all your files together and prevents anything from being lost in transit.
Final Thoughts
Preparing photos and videos for a memorial video doesn’t have to feel overwhelming. With a little organization, you’ll make the process smoother and you’ll help me create a tribute that truly honors your loved one’s life and legacy.
At Texas Hill Country Tales, I’m here to support you every step of the way. If you’re working with a nonprofit, facing financial hardship, or simply need help gathering your materials, please reach out. I’m always willing to work with families in need.
Your memories matter. Your story matters. And it’s my honor to help you preserve it.