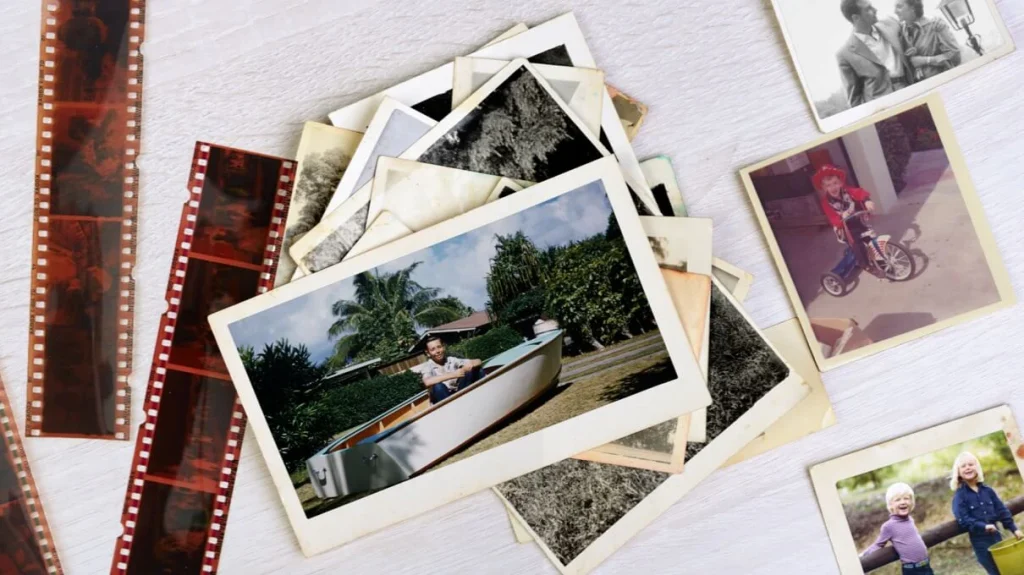

Every family has a treasure trove of memories tucked away in closets, attics, and old boxes — photos, film reels, VHS tapes, letters, keepsakes, and more. But when it comes time to preserve these items, it’s easy to feel overwhelmed. Where do you start? What should you digitize first? How do you keep everything safe?
Organizing your family archive doesn’t have to be complicated. With a little structure and a gentle plan, you can turn a scattered collection into a meaningful, easy‑to-navigate library of your family’s history.
Here’s a simple, calming approach to help you begin.
🧺 1. Gather Everything in One Place
Start by collecting all your physical media:
- Photo albums
- Loose prints
- Slides and negatives
- VHS tapes
- 8mm or Super 8 film reels
- Cassette tapes
- DVDs or mini‑DV tapes
- Old hard drives or USBs
Don’t worry about sorting yet — just bring everything together so you can see what you’re working with.
🗂️ 2. Sort by Format, Not by Year
Trying to organize by date right away can be frustrating, especially when items aren’t labeled. Instead, sort by type:
- Photos
- Slides
- Negatives
- VHS tapes
- Film reels
- Audio recordings
This makes it easier to decide what needs digitizing first and helps you avoid mixing delicate items with heavier ones.
🕰️ 3. Prioritize Fragile or Time‑Sensitive Items
Some materials age faster than others. These should go to the top of your list:
- VHS tapes (magnetic tape breaks down quickly)
- 8mm film (can become brittle or warped)
- Slides and negatives (prone to color shift and dust)
- Photos stored in old “sticky” albums
Digitizing these sooner helps prevent permanent loss.
✍️ 4. Label as You Go
You don’t need perfect accuracy — even simple notes help future generations understand what they’re looking at.
Try labeling with:
- Names
- Approximate years
- Locations
- Events
- Family branches
Use sticky notes or index cards rather than writing directly on photos.
💾 5. Digitize for Long‑Term Preservation
Digitization is the safest way to protect your archive from:
- Heat and humidity
- Mold
- Fading
- Physical damage
- Outdated technology
Once digitized, your memories become easy to back up, share, and enjoy without risking the originals.
If you’re working with VHS, 8mm film, slides, negatives, or fragile photos, professional digitization ensures everything is handled with care — especially irreplaceable items.
🧹 6. Restore What Matters Most
Not every photo needs restoration, but some truly benefit from it:
- Faded colors
- Scratches and dust
- Water damage
- Creases or tears
- Soft or blurry details
Gentle, human‑guided restoration brings these images back to life while preserving their authenticity.
🗄️ 7. Create a Simple Digital Filing System
Once your items are digitized, organize them into easy‑to-find folders. A simple structure works best:
- By decade (1990s, 1980s, etc.)
- By family branch (Smith Family, Garcia Family)
- By event type (Birthdays, Holidays, Vacations)
The goal is clarity, not perfection.
💛 8. Share Your Archive With Your Family
The best part of organizing your archive is sharing it. Once everything is digitized, you can:
- Create shared online albums
- Make keepsake USB drives
- Build photo books
- Create tribute videos or legacy films
- Preserve stories for future generations
Your family will thank you for making these memories accessible and safe.
🌿 A Little Care Goes a Long Way
Organizing your family archive is more than a project — it’s a way of honoring the people and moments that shaped your life. With a gentle plan and thoughtful digitization, you can protect your history and make it easier for future generations to enjoy.