A Simple, Stress‑Free Guide for Families
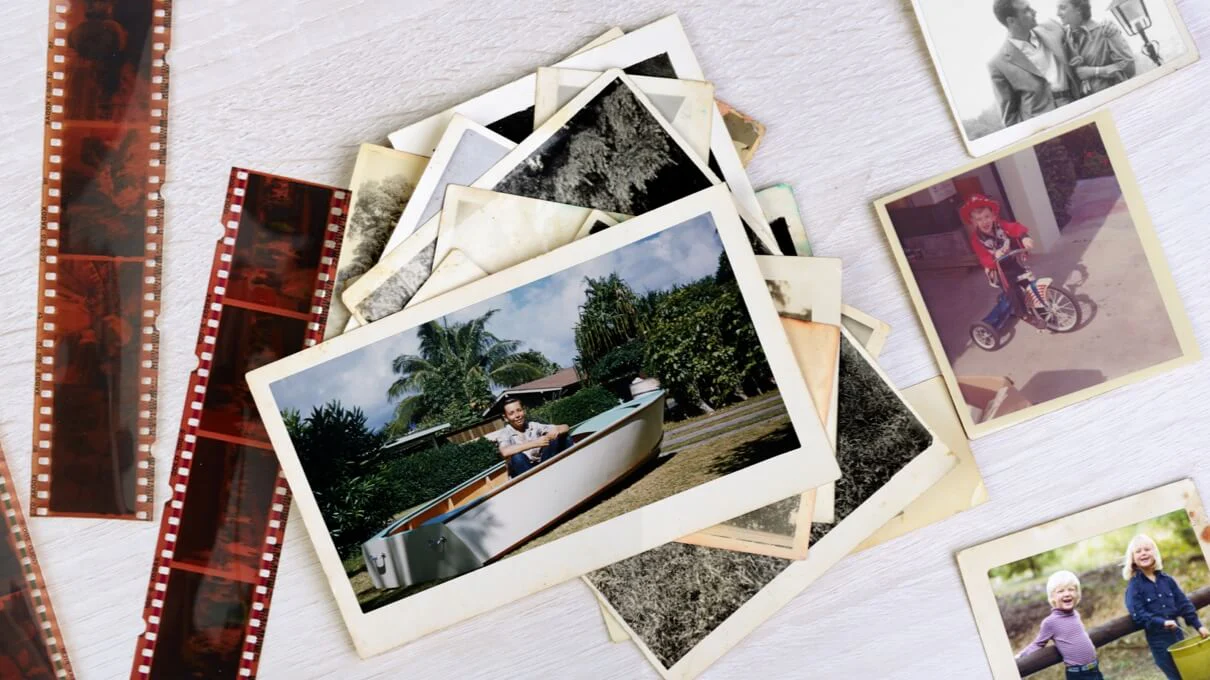
Digitizing your family’s tapes, film reels, photos, and audio recordings is one of the best ways to protect your history. But before you hand everything over, a little preparation can make the process smoother, safer, and more organized — especially when working with fragile or irreplaceable items.
Here’s a gentle, step‑by‑step guide to help you get ready.
🧺 1. Gather Everything in One Place
Start by collecting all the items you want digitized:
- VHS tapes
- 8mm or Super 8 film reels
- Cassette tapes
- Photos and albums
- Slides and negatives
- DVDs or mini‑DV tapes
Don’t worry about sorting yet. Just bring everything together so you can see what you have.
🗂️ 2. Sort by Format, Not by Date
Trying to organize by year can be frustrating — especially when nothing is labeled. Instead, sort by type:
- All VHS tapes together
- All film reels together
- All photos/slides/negatives together
- All audio recordings together
This helps prevent damage and makes it easier to estimate your project.
✍️ 3. Label What You Can (But Don’t Stress About It)
Simple notes are incredibly helpful. You don’t need perfect accuracy — even “Family Vacation, early 90s” is useful.
Label with:
- Names
- Approximate years
- Events
- Locations
- Family branches
Use sticky notes or index cards rather than writing directly on photos.
🧤 4. Handle Fragile Items Gently
Some materials need extra care:
- Film reels can become brittle
- Negatives and slides scratch easily
- Old photos may be curled or stuck together
- VHS tapes can have loose or damaged tape
If something feels delicate, don’t force it. Leave it as‑is — I’ll handle the careful part.
📸 5. Remove Photos from Albums Only If It’s Safe
If photos are stored in old “magnetic” or sticky albums, don’t try to peel them out. This can cause tearing or surface damage.
You can:
- Leave them in the album
- Flag pages you want scanned
- Let me know if any pages are fragile
I can safely scan photos directly from album pages when needed.
🎞️ 6. Check for Mold or Water Damage (Optional)
If you notice:
- A musty smell
- White or green spots
- Warped film
- Sticky tape
Just set those items aside and let me know. I can assess them safely and determine the best approach.
📋 7. Make a Simple List of What You’re Sending
This helps both of us keep track of your materials.
A quick list might look like:
- 6 VHS tapes
- 3 film reels
- 1 cassette tape
- 2 photo albums
- 150 loose photos
- 40 slides
You don’t need to itemize every photo — just a general count is perfect.
📦 8. Pack Your Items Securely
If you’re dropping off locally, a sturdy box or tote works well.
If you’re shipping:
- Wrap tapes and reels in soft padding
- Use rigid photo mailers for prints
- Place everything in a well‑padded box
- Add your name and contact info inside the package
I can also provide packing tips if you’re unsure.
💛 9. Relax — You’re in Good Hands
Preparing your materials is the hardest part. Once they’re in my care, I handle everything with patience, respect, and archival‑safe methods.
Digitization is more than a technical process — it’s a way of honoring your family’s story. And I’m here to make it as simple and comforting as possible.