Digitizing your family’s photos, tapes, and film reels is one of the most meaningful ways to protect your history. But if you’ve never gone through the process before, it’s natural to wonder what actually happens behind the scenes. How are your materials handled? What kind of care do they receive? How long does it take?
This guide walks you through the entire experience — from the moment you reach out to the moment you receive your beautifully preserved digital files.
🧺 1. A Simple, Friendly Consultation
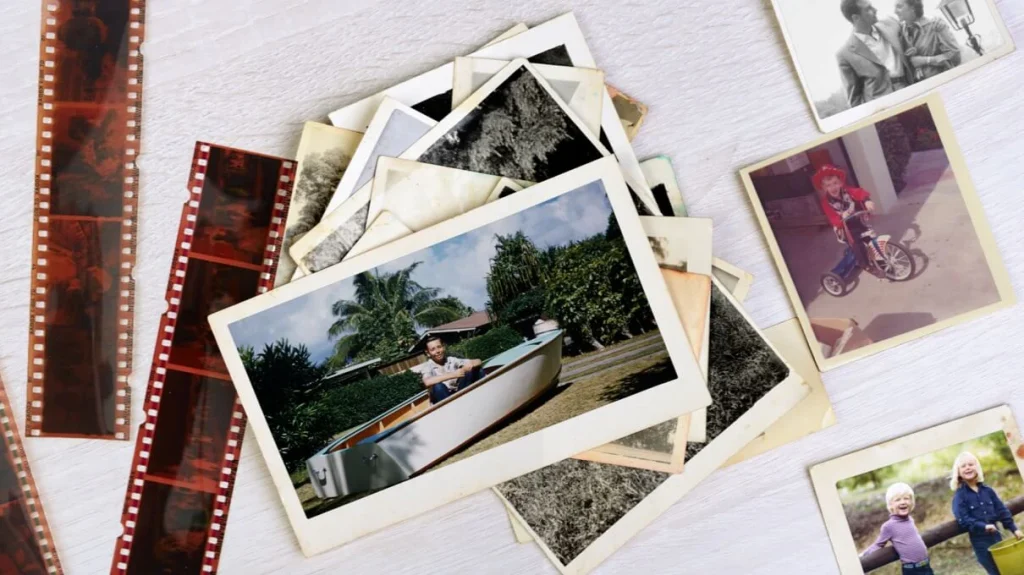
Everything begins with a conversation. You share what you have — VHS tapes, 8mm film reels, photos, slides, negatives, or audio recordings — and what you hope to preserve.
During this step, you can expect:
- A clear explanation of your options
- Help estimating quantities
- Guidance on fragile or damaged items
- A transparent quote based on your needs
This is also when you can ask questions, express concerns, or talk through special requests.
📦 2. Drop‑Off or Ship Your Materials
Once you’re ready, you can either drop off your items locally or ship them securely. You’ll receive packing tips to keep everything safe, especially if you’re sending delicate film or older photos.
When your materials arrive, they’re checked in, counted, and stored carefully until the digitization process begins.
🔍 3. Inspection & Preparation
Before any scanning or transferring happens, each item is gently inspected.
This may include:
- Checking VHS tapes for damage or mold
- Examining film reels for brittleness or warping
- Dusting or surface‑cleaning photos and slides
- Identifying fragile or priority items
Nothing is forced, rushed, or handled roughly. Every piece is treated as irreplaceable — because it is.
🎥 4. The Digitization Process Begins
This is where the magic happens. Each format has its own specialized process:
VHS & Tape Transfers
Your tapes are played through capture equipment that converts the footage into a digital file.
8mm & Super 8 Film Transfers
Film reels are scanned frame‑by‑frame to preserve detail, color, and texture.
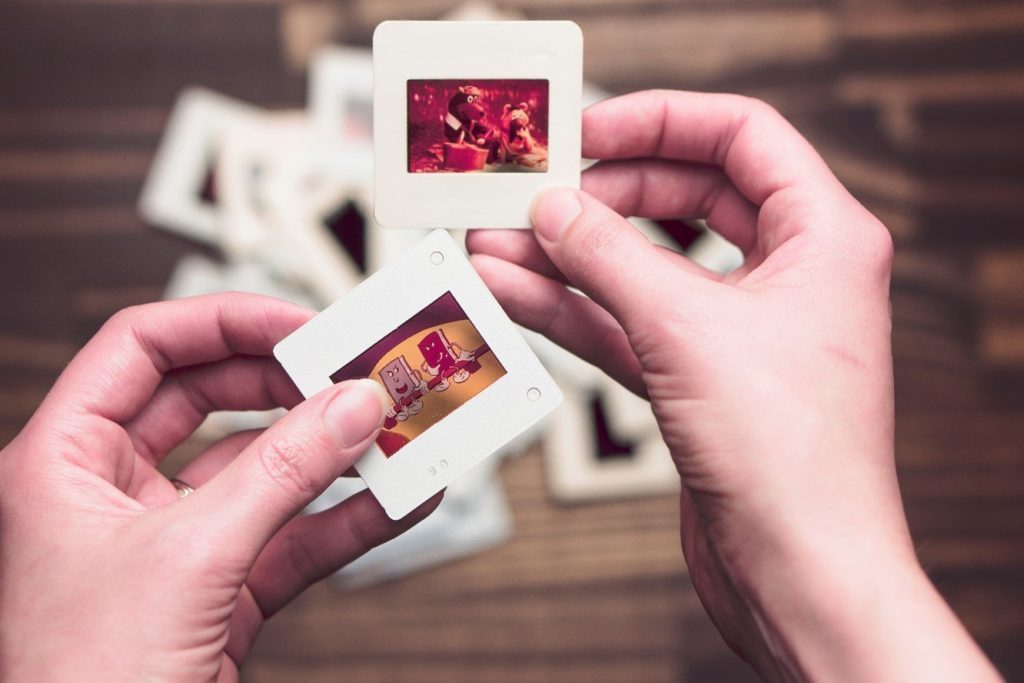
Photo, Slide & Negative Scanning
Images are scanned at high resolution, capturing every detail for long‑term preservation.
Throughout this step, your materials remain organized, labeled, and handled with care.
✨ 5. Cleanup, Stabilization & Enhancement (Optional)
Once everything is digitized, you can choose to enhance your files for even better clarity.
This may include:
- Color correction (Photos)
- Dust and scratch removal (Photos)
- Stabilizing shaky footage (Video)
- Improving audio clarity
💾 6. Organizing Your Digital Files
Your digitized memories are organized into easy‑to‑navigate folders. Each file is labeled clearly so you can find what you need without digging.
You can choose how you’d like to receive your files:
- Digital download
- USB drive
- Both
If you’ve selected add‑ons like photo books or QR‑code memorial cards, this is when those are created.
📬 7. Delivery & Review
Once everything is complete, you’ll receive your digital files along with your original materials, safely packed and returned.
You’ll also have the chance to:
- Review your files
- Request small adjustments
- Ask questions
- Explore keepsake options
The goal is for you to feel confident, supported, and delighted with the final result.
💛 8. Your Memories Are Now Safe for Generations
Digitization isn’t just a technical process — it’s an act of preservation, love, and legacy. Once your files are safely stored and backed up, you can:
- Share them with family
- Create keepsakes
- Build a digital archive
- Use them in tribute videos or celebrations
- Pass them down to future generations
Your memories are no longer at risk of fading, breaking, or being lost to time.